

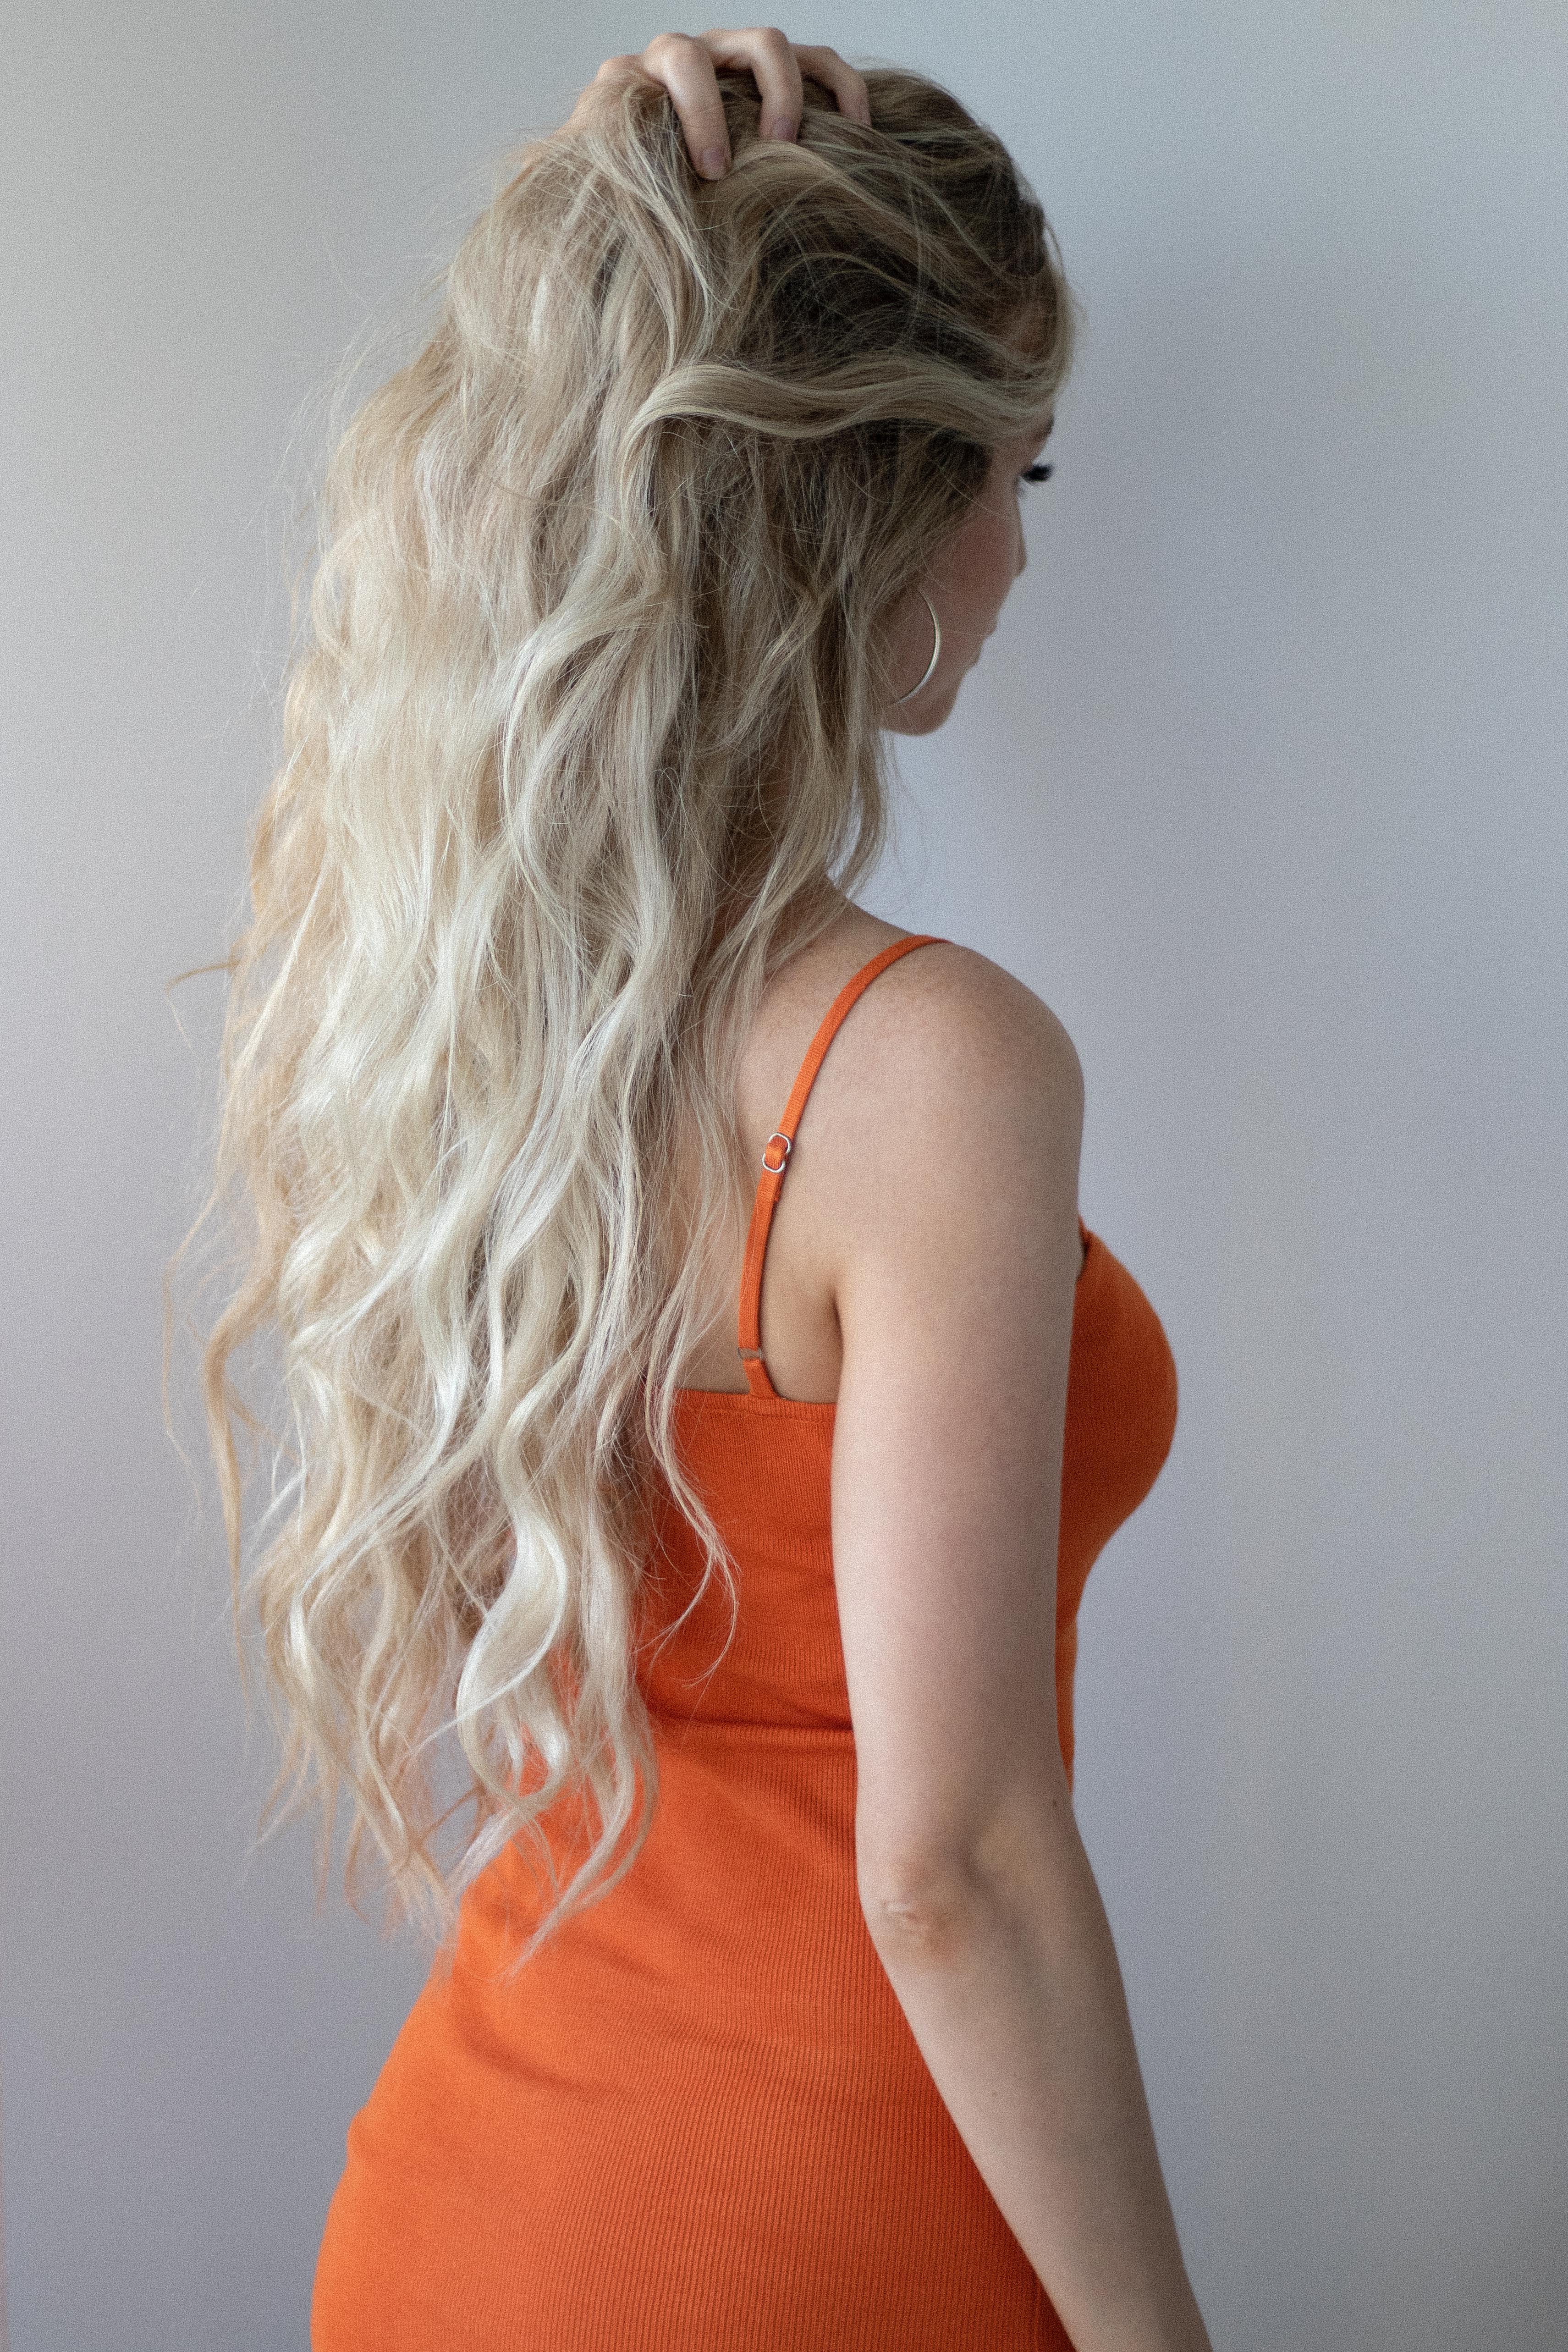
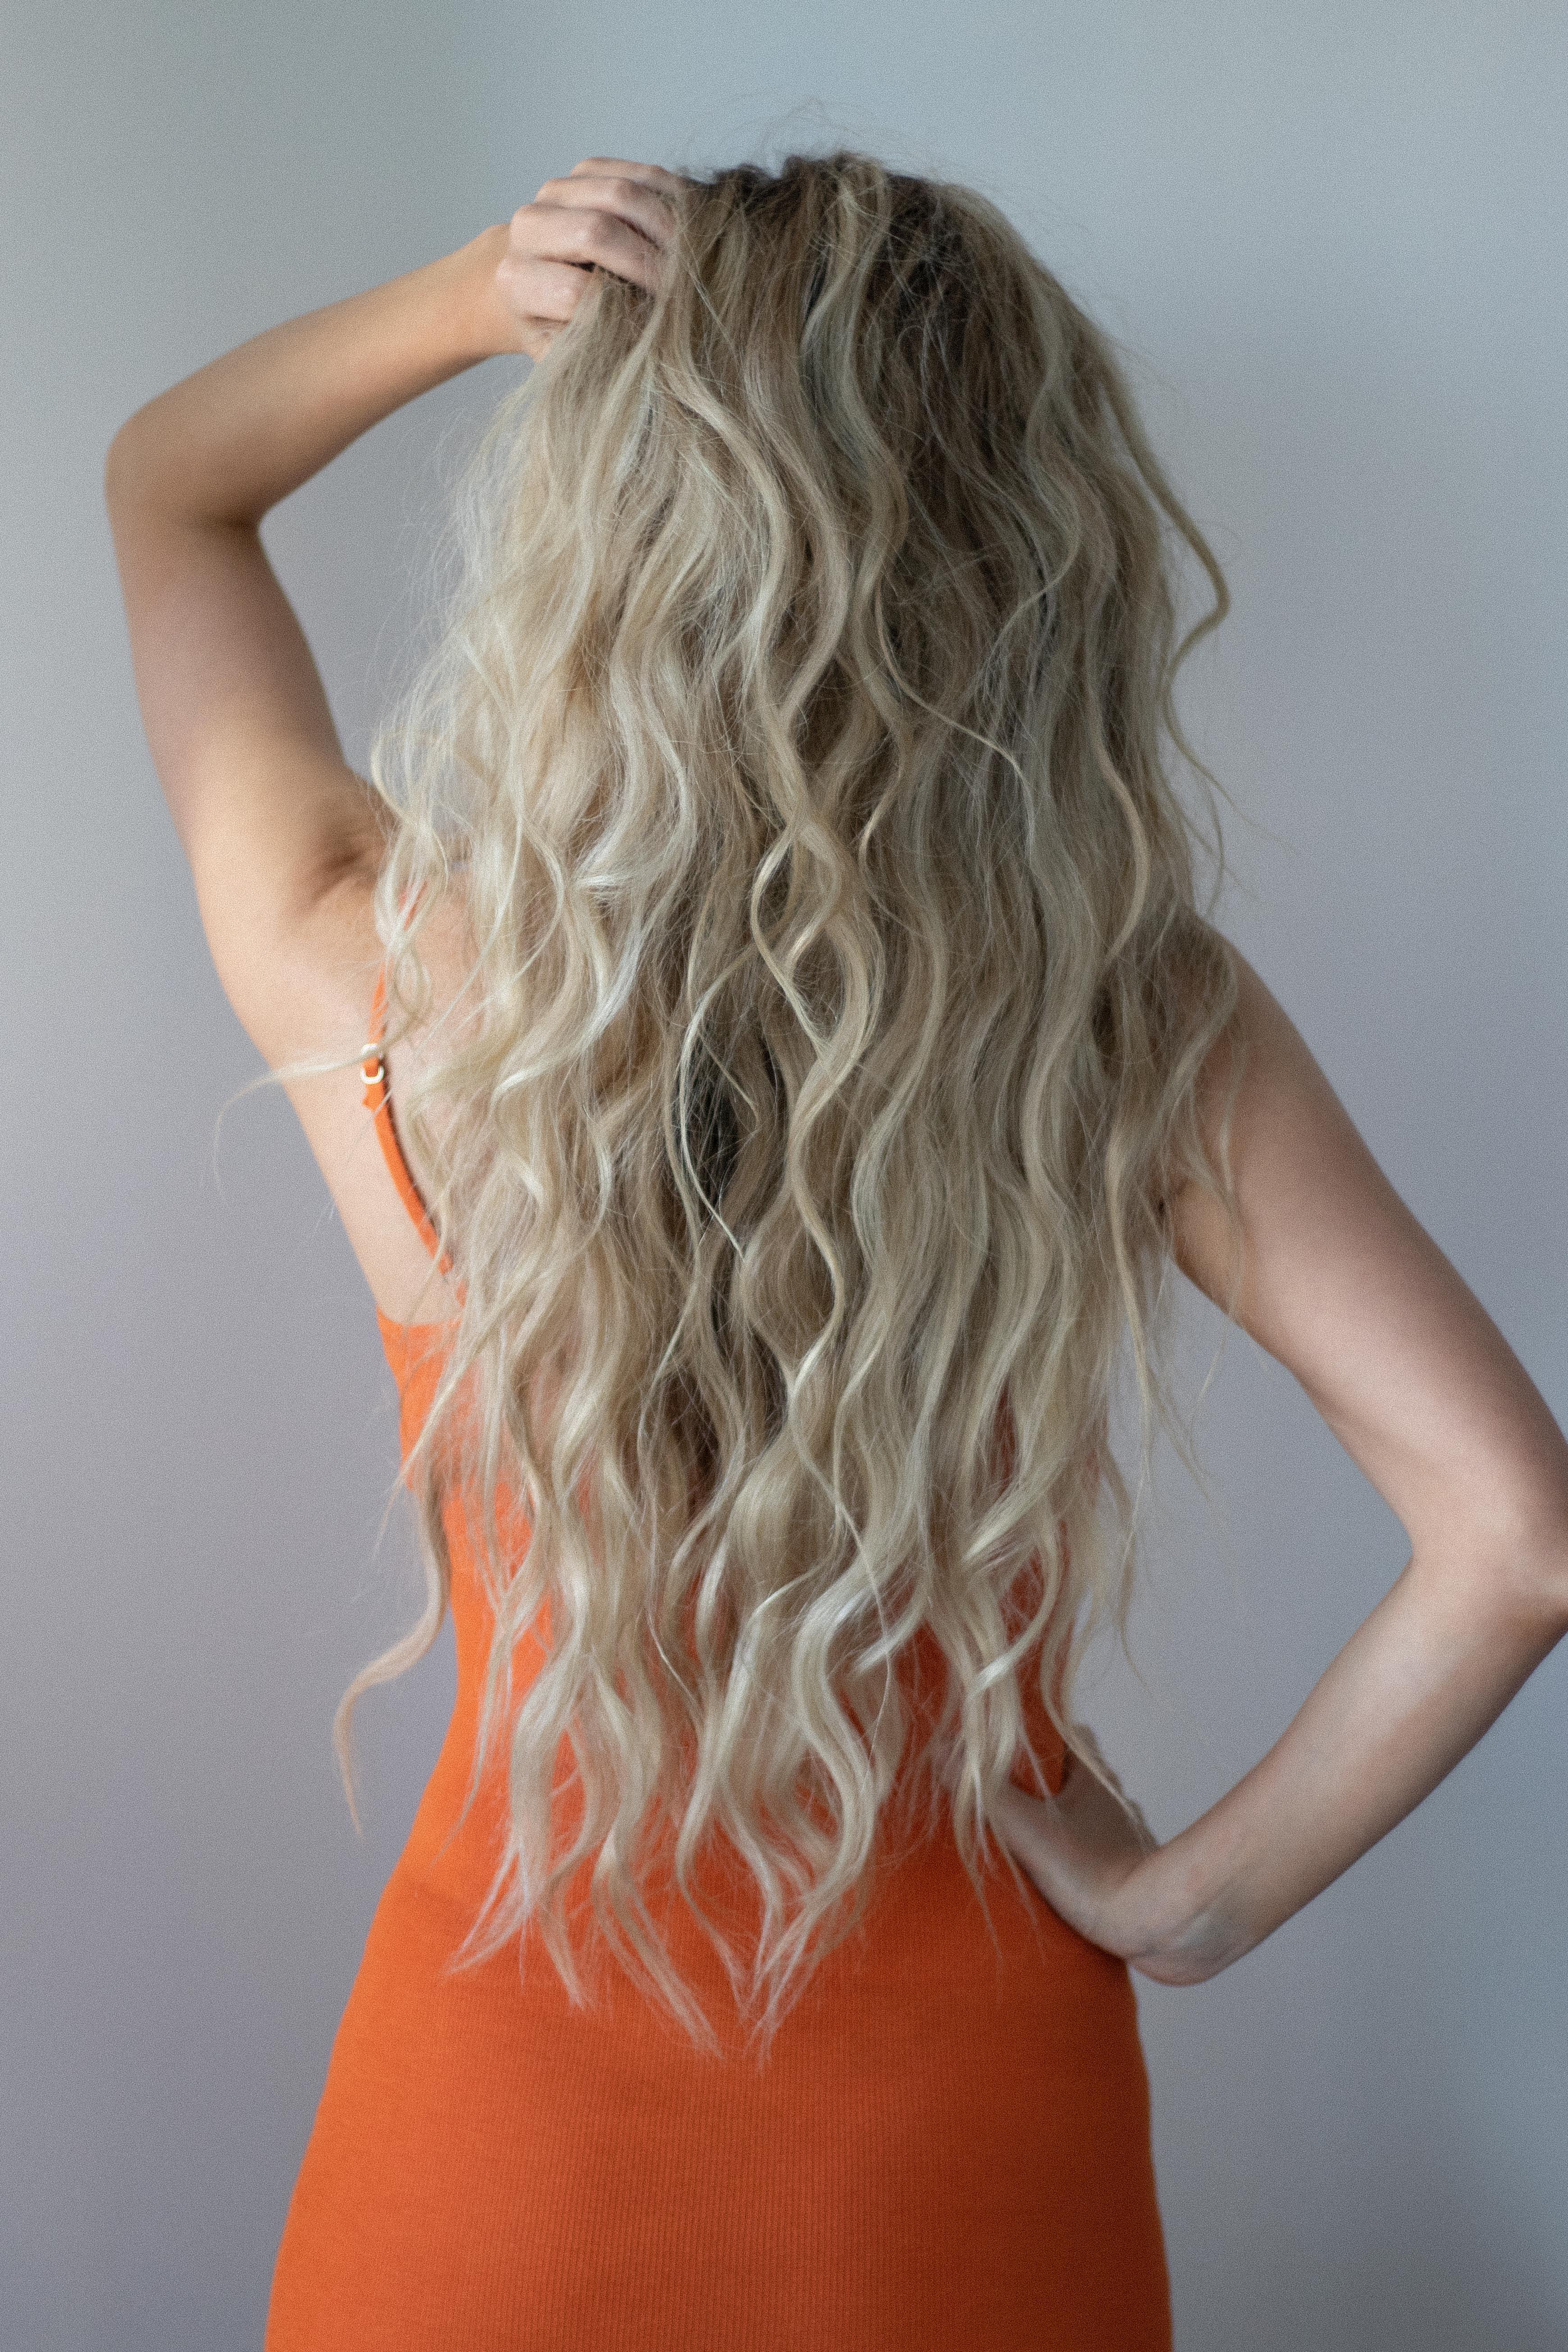

Summer has finally arrived, and with that, I wanted to share how to do beach waves with a flat iron. I have tried many different methods to achieve this look, and this is the one that consistently works best for me. I love how natural and effortless looking the waves are, and although they’re effortless looking they do take a bit of work.
How To Get Beach Waves With a Flat Iron:
Step 1: Prep your hair with a texture product to help the waves hold their shape. I love OUAI’s Dry Texture Foam, just apply a small amount into your palm and work it into your dry hair from the ends to the roots. When I use this product my waves last for days.
Step 2: Use a 1” straightener, I used T3’s SinglePass Luxe 1” flat iron on the 3rd heat setting.
Step 3: Section off all your hair above your ears, and clip it out of the way.
Step 4: Working in 1” sections, place your flat iron at your root keeping it horizontal. Begin curling your section under for about 2 seconds, towards your head by twisting your wrist about 90 degrees. Take your straightener off your section & you have your first wave.
Step 5: Place your straightener at the bottom of your last wave, and repeat this same step again, except this time curl your section away from your face for about 2 seconds. You should be left with an S-shaped wave. Repeat this pattern down the rest of the section.
Step 6: Repeat this pattern throughout the rest of your hair. For the ends, curl them whichever direction your pattern ends with, or keep them straight for a beachier look.
Step 7: Once you’re finished waving your hair, look for any straight pieces you may have missed and curl them with your straightener.
Step 8: Apply your favourite dry shampoo to your roots for additional volume, I used VOIR Haircare’s She’s Like The Wind Dry Shampoo and I’m really loving it! Then add your favourite texture product to help separate the waves, I used my go-to from Sexy Hair.
Believe it or not, this technique is quite quick once you get the hang of it, and if your waves don’t look quite as defined your first try just keep on practising. Be sure to watch the full Beach Wave Hair Tutorial above for more details.
Don’t forget to tag me in your recreations over on Instagram.
No Comments