
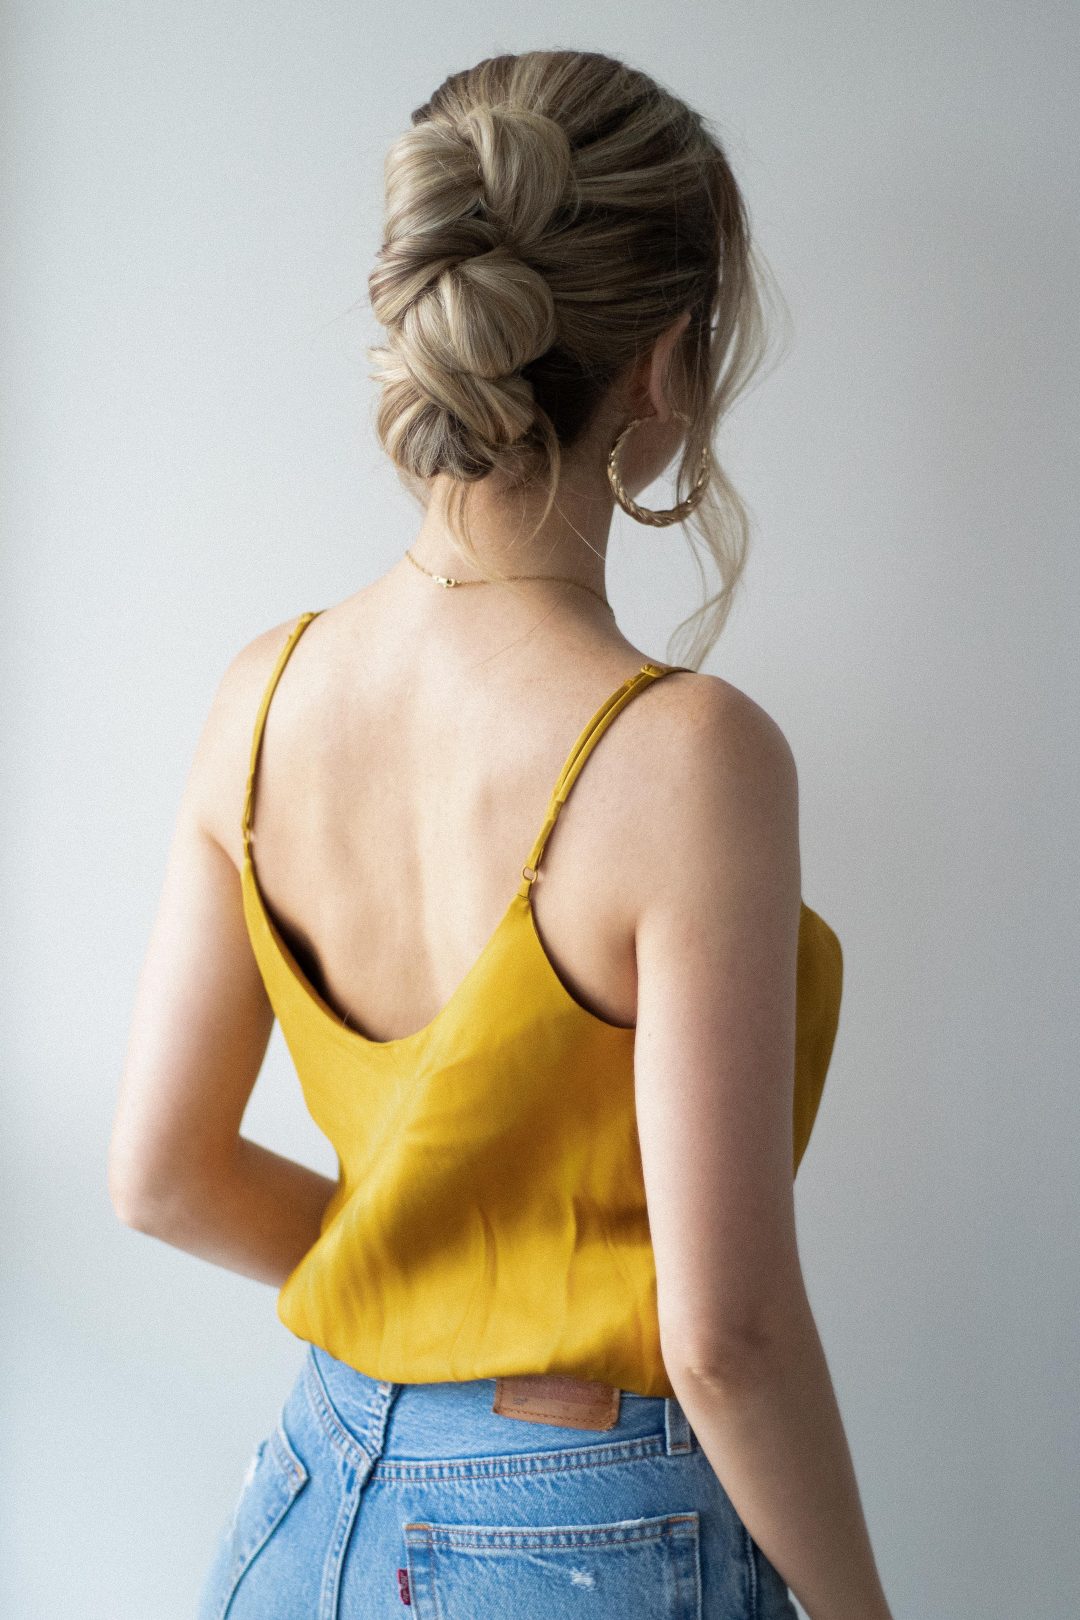


I am so excited to share today’s hair tutorial which is an easy knotted braid updo. I wanted to share this particular hairstyle because it can be recreated on medium-length to long hair. This updo is surprisingly simple and absolutely perfect for a casual night out, a wedding hairstyle or for any special event this summer.
What I love most about this updo is that gives me major 90s’ vibe which you know that I am all about. Leave a comment and let me know what you love about this hairstyle. Make sure to watch the full hair tutorial above, and don’t forget to tag me on Instagram (@alexgaboury) when you recreate these looks.
HOW TO ACHIEVE THIS EASY KNOTTED BRAIDED UPDO
Step 1: For this hairstyle, we need to create 3 pony-tails. For the first pony-tail gather all the hair above your temples, and secure it tightly with a hair elastic just below the crown of your head.
Step 2: Clip that pony-tail out of the way for now.
Step 3: For the 2nd pony-tail, gather all the hair above your ears, a then secure it tightly with a hair elastic just below that previous pony-tail.
Step 4: Clip that pony-tail out of the way for now.
Step 5: For the last pony-tail… You guessed it, gather all the remaining hair, and secure it just below that previous pony-tail.
Step 6: Unclip your pony-tails. The key to this up-do is to have all your pony-tails as close together as you can.
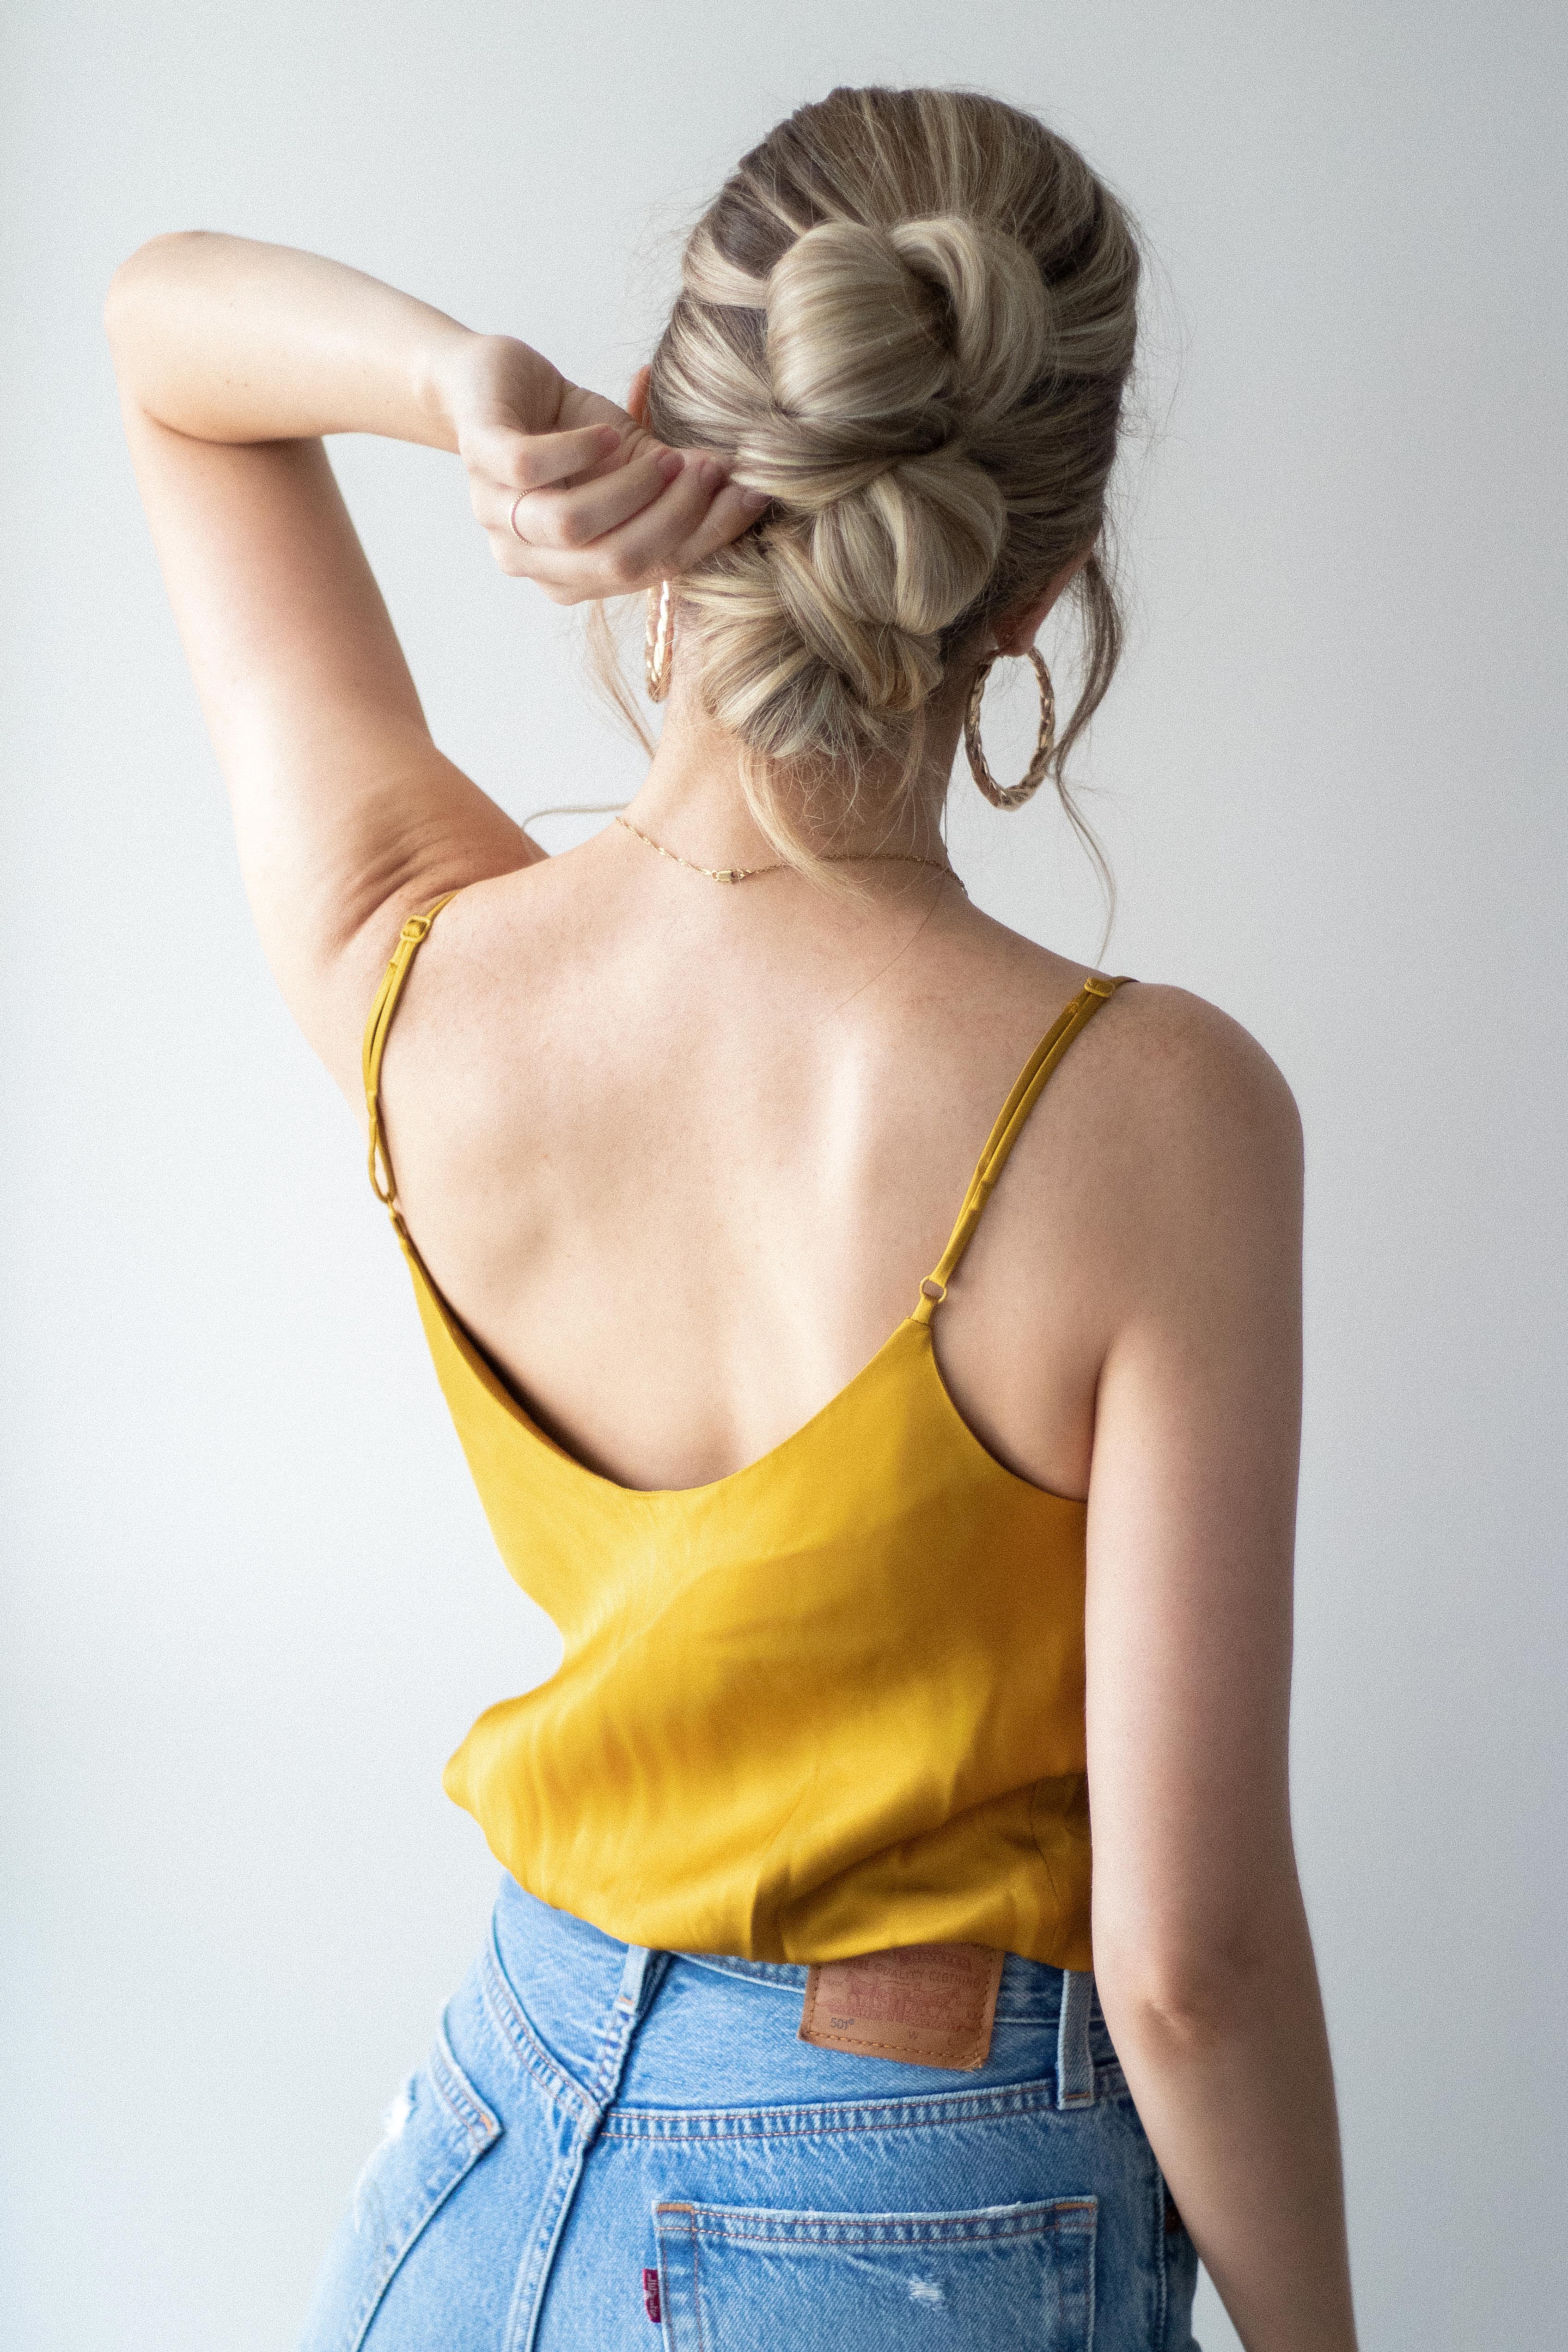
Step 7: Now the fun part, take your top ponytail, and tie it into a knot. Bring your pony-tail counter clockwise, up the right side of your pony-tail. This will create a bun shape, hold the bun with your right hand, as you bring the rest of your hair over the top of your ponytail. Then put your index finger and thumb through the centre of the bun, and pull your ends all the way through to create a knot.
Step 8: Once your hair is through and you’ve created your knot, bobby pin (these are my favourite bobby pins, they hold so well.) the outside of the knot to your head. If your hair is shorter, pin your ends out of the way under the knot, and if your hair is longer, join your ends into the 2nd pony-tail.
Step 9: For the 2nd pony-tail, we’re going to create another knot. This time wrapping your hair clockwise. Repeat step 8.
Step 10: Last knot, this time wrap your hair counterclockwise. I find alternating the directions of your knots makes the braid look more intricate & difficult, leaving everyone wondering how you created it. Repeat step 8.
Step 11: Once you’ve pinned your last knot into place, you can tuck your remaining ends underneath and pin them out of the way, or tuck your ends up leaving the ends hanging out for a more casual and effortless appearance.
This hairstyle was inspired by an incredible hairstylist Shannan Sophia on Instagram, you can check out the inspiration here.
5 Comments
I’m having my 50th soon and just love these hair doos.
Happy early birthday Nancy!
This hairstyle would be perfect! My sister-in-law just wore this hairstyle to her 40th birthday party and it looked absolutely beautiful, everyone loved it. 🙂
OMG I’ve done this hairstyle two days in a row and have gotten so many complements!!!!! I have super long hair and have trouble finding easy hairstyles for school and this one is so easy and quick and I absolutely love it!
This makes me so happy, thank you for sharing! xo
Since I got my hair cut to almost shoulder length, I’ve been struggling with updos. This one worked well for my hair that’s about 2 inches longer than shoulder length. I think it will only look better as my hair grows out. Thanks for the tutorial!